Choosing a toothbrush mold in 2026 means balancing product design, production needs, and reliable quality—not simply finding the lowest quoted price. The mold must reproduce the handle’s shape consistently, hold fine details, and work with the intended plastic and manufacturing process. A small mismatch can affect grip, appearance, assembly, or cycle time. Details matter.
Before comparing suppliers, define the toothbrush you plan to make. Consider its handle dimensions, ergonomic contours, grip texture, material, expected production volume, and any replaceable-head features. Ask how the mold design supports cooling, ejection, maintenance, and dimensional consistency. Request clear information about cavity count, expected cycle time, tool life assumptions, and inspection methods. These figures depend on the design and operating conditions, so treat them as questions to verify—not guarantees.
This guide explains how to assess mold construction, materials, supplier capability, sampling, and total ownership cost. It also highlights practical checks, such as reviewing sample parts for flash, uneven texture, warping, and sharp edges. A polished sample is useful, but it does not prove stable production over time. Ask what happens when adjustments are needed, and make sure responsibilities and acceptance criteria are written down. There is no universal best mold. The right choice depends on your product, process, budget, and production plan—and some trade-offs deserve a second look before approval.
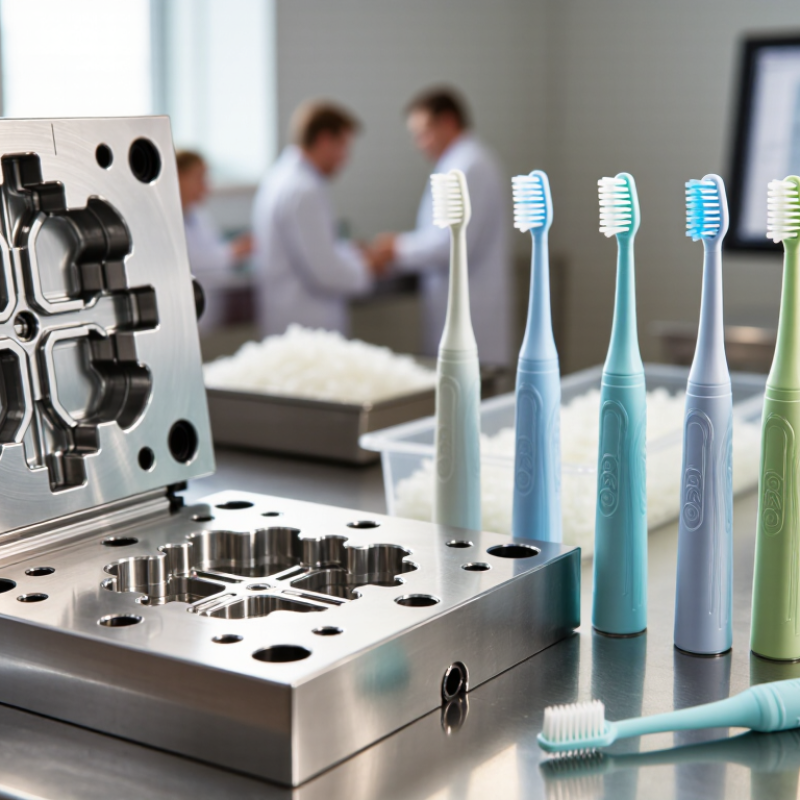
Before comparing mold designs, define the toothbrush clearly. Record the handle’s overall length, grip width, neck angle, and head dimensions. Specify where soft-touch areas, hanging holes, or decorative features belong. Small details matter. A shallow grip texture may look subtle on a drawing but can affect filling and release. Share a dimensioned drawing and a physical reference sample when available.
Production needs shape the mold as much as the product does. Estimate annual volume, target cycle time, preferred machine size, and expected production shifts. These details help determine cavity count, runner layout, cooling channels, and mold steel. Also confirm the planned handle resin and its shrinkage behavior with the material supplier. A beautiful mold that runs slowly or needs frequent cleaning can become an expensive compromise.
Ask how the mold will be tested, adjusted, and maintained. Request trial parts for dimensional checks, surface review, and assembly testing with the brush head and bristles. Check for flash around parting lines and uneven texture near the grip. Sometimes a specification is incomplete; that is not unusual. Leave room for sample-based corrections, but document every approved change. Clear requirements make troubleshooting less subjective and help the moldmaker build for repeatable production.
A toothbrush mold should match the handle design, production volume, and resin—not just the machine’s available space.Single-cavity molds suit prototypes and small runs, while multi-cavity molds improve output when dimensions stay consistent. Family molds can produce different components together, but balancing fill and cooling becomes more demanding. Small details matter.
Grand View Research’s 2024 Toothbrush Market report estimated the global market at about USD 7.5 billion in 2023. That scale makes repeatable molding valuable, though high output alone does not justify a complex tool.
Polypropylene is lightweight and commonly used for handles, but its shrinkage requires careful cavity and cooling design. ABS can provide a rigid, smooth handle; confirm the resin grade’s flow behavior before finalizing gates. Thermoplastic elastomers add soft grips through overmolding, but bonding depends on compatible material grades and process conditions.
For a basic handle, a single-material injection mold may be sufficient. For a two-material grip, specify a two-shot or insert-molding design and test the interface with actual resin samples. Nylon bristles are typically assembled separately, so they do not usually share the handle mold.
Not always. A mold that works well in a short trial may reveal warpage or uneven filling during longer runs. Request molded samples, inspect grip seams and handle dimensions, and review cycle-time assumptions with the toolmaker before committing.
How to Choose a Toothbrush Mold in 2026?
Evaluate Mold Design, Cavities, and Manufacturing Features
A toothbrush mold should be evaluated from handle geometry to finished-part consistency. Check the neck transition, grip texture, and bristle-hole layout on a detailed drawing. Small design flaws can cause awkward seams or uneven wall thickness. They matter. Grand View Research estimated the global toothbrush market at USD 7.2 billion in 2023, with continued growth projected through 2030. That market estimate signals demand, not a guaranteed sales forecast. It does make reliable, repeatable production worth examining.
Cavity count affects output, but more cavities can mean greater balancing and maintenance demands. Ask for cavity-to-cavity weight variation, cycle-time records, and sample parts from every cavity. Inspect venting, cooling channels, gates, and ejection marks; look closely around narrow necks and textured grips. I would not select a mold on cycle time alone. A fast cycle is less useful if parts warp or need extra trimming. Confirm that finished manual toothbrushes can be evaluated against ISO 20126:2022, which sets requirements and test methods for these products. The WHO’s 2022 Global Oral Health Status Report estimates that oral diseases affect nearly 3.5 billion people. That figure is not a mold specification, but it underscores why consistent everyday products matter. Keep the trial data. Some defects only appear after repeated runs.
Compare cavity-count scenarios alongside mold design, ejection, cooling, and production requirements.
Each cavity can produce one handle per injection cycle, assuming a single-handle design and no rejected parts. The cavity counts shown are illustrative scenarios, not industry benchmarks. Higher cavity counts can raise output per cycle, but mold balance, cooling, ejection, maintenance, and expected demand should guide the final choice.
A toothbrush mold should be judged by the toolmaker’s process, not just a polished quotation. Ask how they control cavity dimensions, cooling, venting, and surface finish. These details affect bristle-hole alignment, handle consistency, and cycle time. Request inspection records and sample parts from a comparable project. Look closely at hole edges and flash. Small marks matter. A capable team should explain how it will measure these features and respond if samples fall outside agreed limits.
Lead times need detail, too. Ask for a schedule covering design review, steel preparation, machining, trials, and revisions. Confirm what could delay each stage, and who reports changes. A short promised timeline means little without milestones. Check whether the quoted date includes sample approval, not merely the first test. Leave room for adjustments; real projects rarely follow a perfect line.
Compare total costs across the mold’s expected production life. Include tooling, sample changes, maintenance, spare inserts, shipping, and the cost of slower cycles or rejected parts. A low initial price can become expensive. It is easy to overlook downtime when comparing quotes. Ask what wear items are replaceable and how servicing is handled. No checklist catches everything, so record assumptions about production volume, resin, and tolerances before making the decision.
| Evaluation area | What to assess | Practical benchmark or planning range | Questions to ask before ordering |
|---|---|---|---|
| Mold configuration | Cavity count, runner design, and whether the handle needs a separate soft-grip overmold tool. | A single-cavity tool can suit prototypes or low demand; multi-cavity tools increase output but require more complex balancing, cooling, and maintenance. | Is the quote for one mold or multiple tools? Are hot-runner components and any overmold tooling included? |
| Indicative tooling budget | Compare the complete tool quote, not just the base mold price. | Simple single-cavity tool: about $8,000–$25,000. Typical 8–16-cavity production tool: about $30,000–$100,000. Complex 24–32-cavity tool: about $70,000–$180,000 or more. | Which items are excluded, such as spare inserts, hot-runner systems, texture, sampling, shipping, duties, or taxes? |
| Lead time | Check the schedule from approved design through mold trials and final acceptance. | Approximately 4–8 weeks for a simple tool, 8–14 weeks for a standard production tool, and 12–20 weeks or more for complex, high-cavity tooling. | Does the schedule include design approval, steel procurement, trial shots, corrections, and shipment? What milestones are guaranteed? |
| Toolmaker quality | Review comparable multi-cavity consumer-product tools, documented inspection methods, and in-house machining and trial capabilities. | Ask for a written inspection plan, cavity-by-cavity sample measurements, mold-flow or filling analysis where appropriate, and a documented trial report. | Can you inspect a similar completed tool or anonymized trial report? Who owns design changes and corrective actions? |
| Steel and expected tool life | Specify mold steel, hardness or treatment, wear parts, and maintenance conditions for the selected resin and production plan. | Tool life varies substantially with steel grade, resin, part design, processing, and upkeep. Require a written life estimate and the assumptions behind it rather than relying on a generic shot-count claim. | What steel is used for cores and cavities? Which components are replaceable, and what maintenance is required? |
| Part quality and validation | Confirm critical dimensions, appearance, warpage, fit, and consistency between cavities using production-intent resin. | Agree on a drawing with tolerances and a sample-approval process before tool build. Validate cavity-to-cavity variation and the handle’s interface with downstream tufting or assembly operations. | How many trial rounds are included? Who pays for revisions if samples fail agreed acceptance criteria? |
| Total cost of ownership | Include tooling, validation, transport, spare parts, preventive maintenance, downtime, and scrap in the comparison. | A lower initial price may cost more over time if cycle time, scrap, maintenance needs, or repair delays are higher. Compare cost per accepted handle using the same output and quality assumptions. | Can you provide a maintenance schedule, recommended spare-parts list, repair rates, and estimated cycle time? |
| Ownership and support | Clarify tool ownership, storage, access to design files, relocation, and support after acceptance. | Put ownership, identification, maintenance responsibility, and transfer conditions in the purchase agreement. | Can the tool be inspected, moved, or maintained by another qualified shop? Are CAD files and mold documentation included? |
Budget ranges are indicative estimates, not supplier quotations. Request comparable written quotes based on the same approved part design, resin, cavity count, acceptance criteria, and delivery terms.
A toothbrush mold must produce consistent bristles, handles, and attachment points—not just attractive samples. Request trial parts from every cavity, then inspect them under bright light for flash, sink marks, uneven trimming, and loose bristles. Small defects matter. Measure handle dimensions and check that the brush sits comfortably in the hand. Record cycle time and reject rates during repeated runs; one clean sample proves very little.
Product safety starts with documented material specifications and clear traceability for mold components and production materials. Confirm that the resin and colorants are suitable for their intended contact and use, and ask how the process controls contamination. Examine gate locations and parting lines, where sharp edges or excess plastic can remain. I would not rely on appearance alone. A polished surface can hide a weak fit or inconsistent molding, and that is easy to overlook during a rushed review.
Maintenance needs deserve the same scrutiny as output quality. Ask how technicians access vents, cooling channels, and moving parts, and whether routine cleaning requires special tools. Check for replaceable wear components and a realistic schedule for inspection. Keep sample parts from early production as a comparison point. It is a slightly fussy habit, but it can reveal gradual drift before defects become obvious. If maintenance records are vague, request a simple checklist with dates, findings, and corrective actions.
This website uses cookies to ensure you get the best experience on our website. Learn More
ACCEPT